This screen cannot be used to add or delete from a Scenario.
Once a Scenario has been created and Programmes included, only the Copy or Move Programme function can be used to rearrange Programme and Scenario associations.

To Edit an Existing Scenario
- Select the required Scenario from the Scenario list in the Navigation Menu
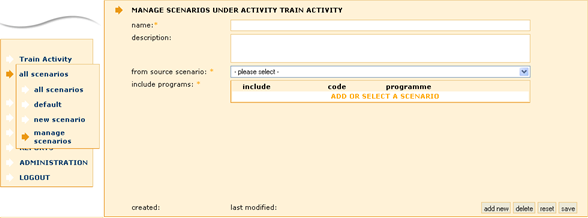
- Select manage scenarios from the Navigation Menu
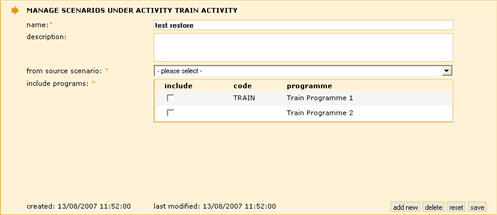
The Scenario details will be displayed

- Modify name and description fields
- Click the save button at the bottom of the screen
To Add a New Scenario
- Select manage scenarios from the Navigation Menu
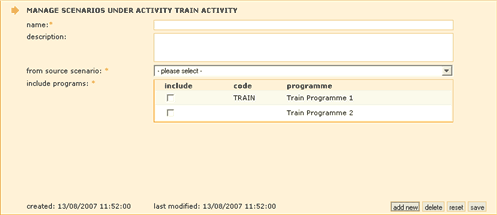
- Click the add new button at the bottom of the screen
A blank screen will be displayed

- Enter name and description details of the new scenario
- Select a scenario from the from source scenario drop down list on which this scenario will be based
The Programmes linked to the source scenario will be listed
- Tick the Programmes to be associated with the new Scenario
- Click the save button at the bottom of the screen
To Delete a Scenario
- Select the required Scenario from the Scenario list in the Navigation Menu
The Scenario details will appear
- Click the delete button at the bottom of the screen
- Confirm deletion, by selection of OK from the pop-up dialogue box
Care must be taken when deleting Scenarios as all related Programmes and will also be deleted
|